
Creating and Managing Meetings and Rooms
Objective
In this article, you will learn how to create and manage meetings and rooms in Corenexa Desktop and browser applications.
How To
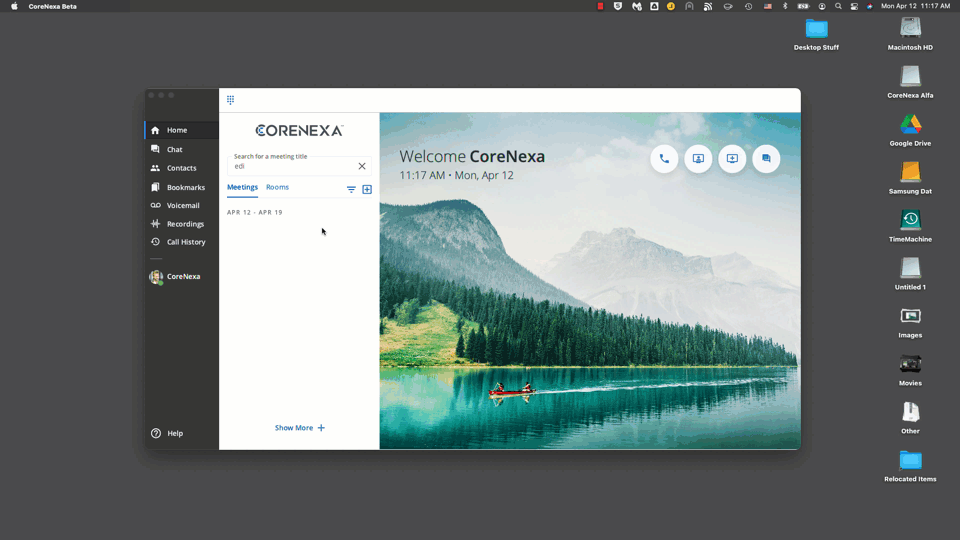
Meetings and Rooms
Create a blog post subtitle that summarizes your post in a few short, punchy sentences and entices your audience to continue reading.
Meetings are either started immediately or scheduled for some future date. Meetings last 30 hours or less.
Rooms are permanent virtual meeting spaces. They could be for an individual (Bill’s Room), a team (Dev Team 1) or be the virtual extension of a meeting space (Executive Conference Room).
Types of Meetings
Adhoc Meeting - Adhoc meetings are created by selecting a Contact and then picking Start a Meeting. These meetings are not seen in the meetings list and have no meeting number associated with them. Multiple users can be invited to an adhoc meeting.
Open Meeting - Open meetings are the most often used type of meetings. Multiple users are all present in a meeting with the ability to turn on their cameras, microphones and share their desktops. Open meetings can be started immediately or scheduled for some time in the future.
Creating an Adhoc Meeting
To create an adhoc meeting, locate a contact in your community, click on the three dot button next to the user name and select Start a Meeting. The contact will get a pop-up message and be prompted to join the meeting.
If Start a Meeting is not in the menu, the user is already in another meeting.
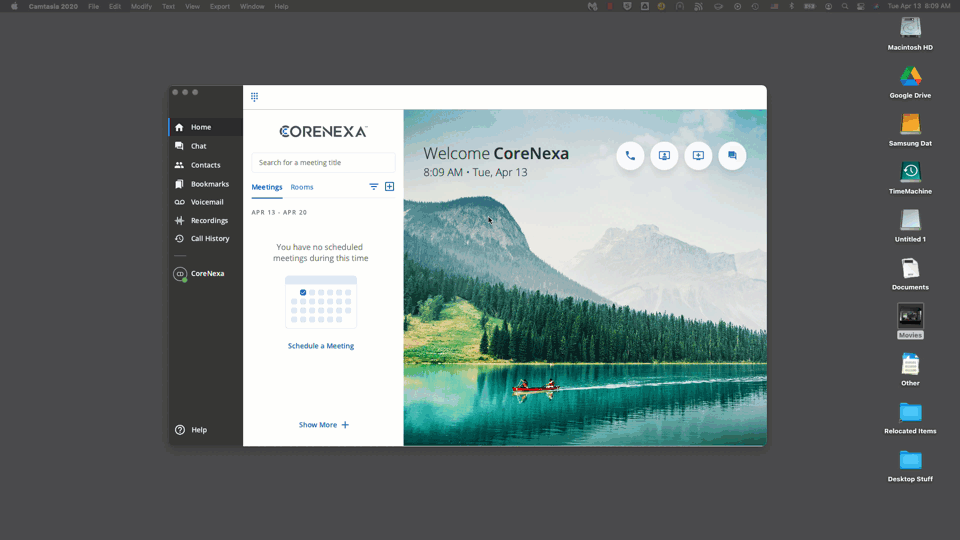
Create a Meeting
To create a meeting that is available immediately, click on the + icon next to Meetings and rooms or the shortcut in the upper right of the application (third shortcut over).
Once you’ve done that, set a meeting name, pick a duration and edit your moderator and attendee PINs (must be numeric and 4 digits) if desired and click Start Meeting.
Welcome to your blog post. Use this space to connect with your readers and potential customers in a way that’s current and interesting. Think of it as an ongoing conversation where you can share updates about business, trends, news, and more.

Once the meeting starts, the user can click on the participants icon in the left side menu to invite other community members or get meeting invite and information with the i button at the top of the screen where the invitation can be copied to be pasted into the user’s calendar system or sent through email. The meeting will also appear in Meetings.
Schedule a Meeting
Scheduled meetings occur in the future. They can be a one time occurrence or be recurring. To schedule a meeting, click on the Create Meeting button or shortcut, and then click on Schedule Meeting.
Give the meeting a name, pick a date and a start and end time for the meeting. If this is a recurring meeting, click the Recurring Meeting check box and then the number of recurrences and the days that they’ll recur on.
Scheduled meetings will appear under Meetings on the CoreNexa home page 10 minutes before the start of the meeting.
Advanced Options
Under Advanced Options the user can choose to make this a Private meeting where only those invited can see the meeting in the meeting list and join. Additionally, in Advanced Options is the ability to add Bookmarks for all participants in the meeting to have available.
Private Meetings Note
Private meetings can be seen in the meeting list by any of the private meeting attendees. Guest users can join private meetings if they have the meeting number and PIN (if there is a PIN).
Managing Existing Meetings
Meetings can be managed (edited, deleted) by changing the Meeting Filter to ‘My Scheduled Meetings’ and then clicking on the ‘More’ button next to the meeting to be modified.
Schedule a Webinar
This feature is not yet available.
Create and Managing Rooms
Rooms must be created by a CoreNexa Admin or Partner as they are a billable item. They are managed in CoreNexa Automation Manager.